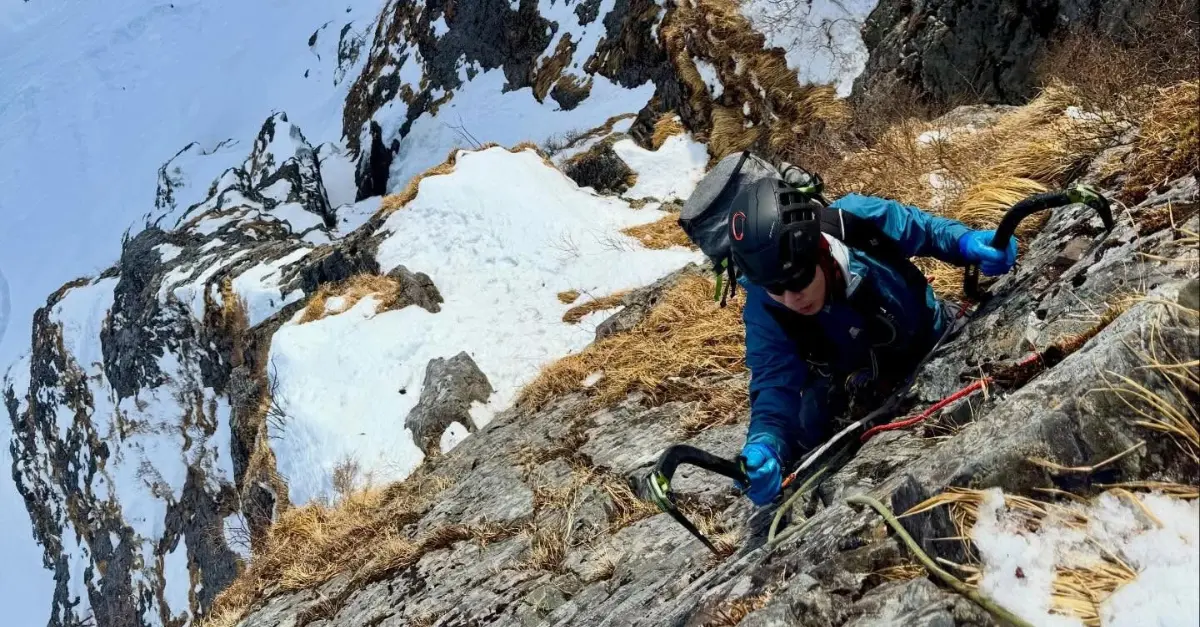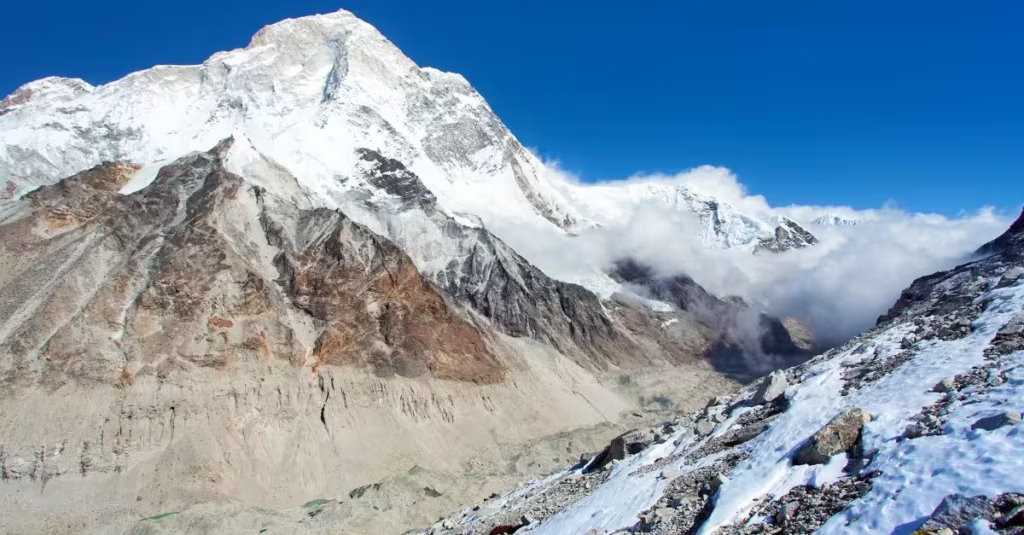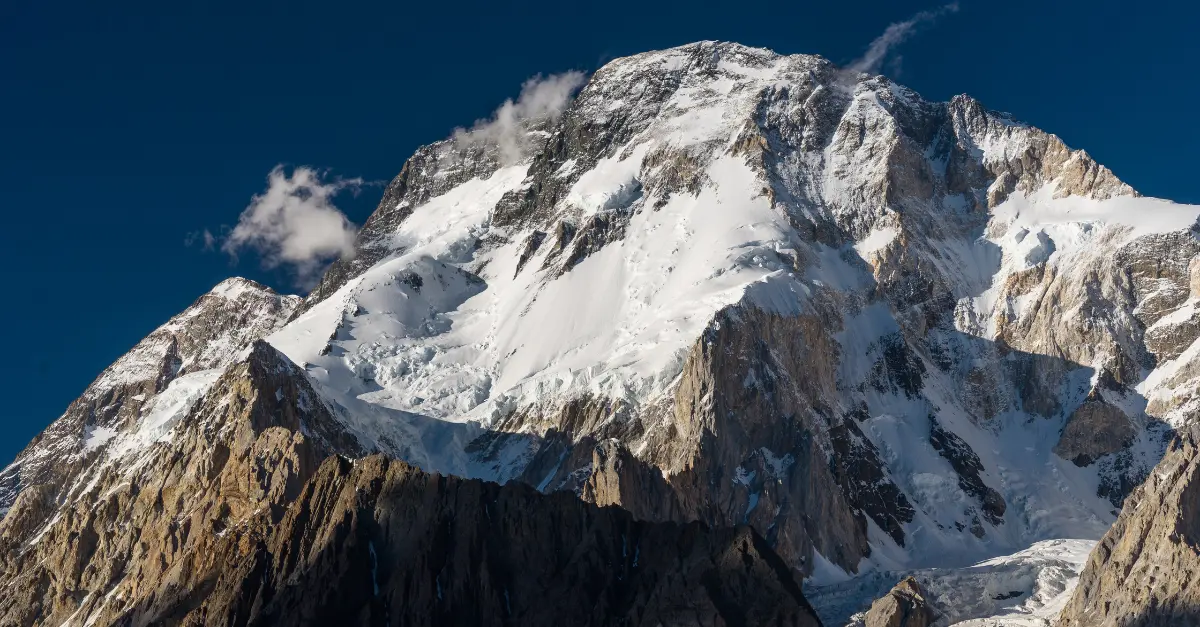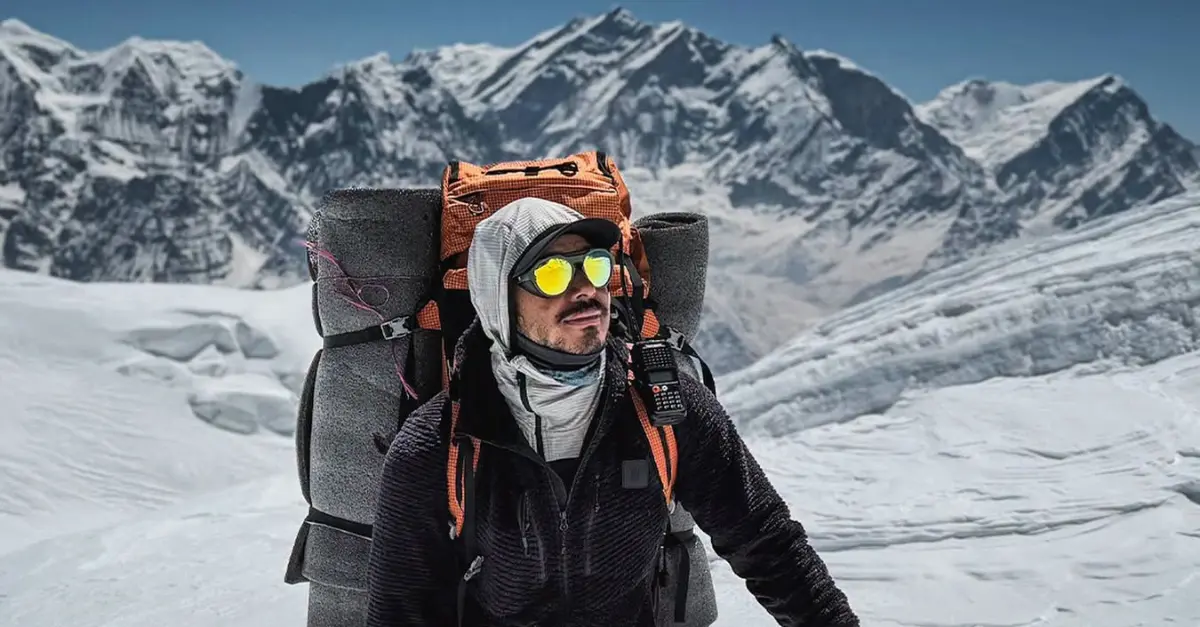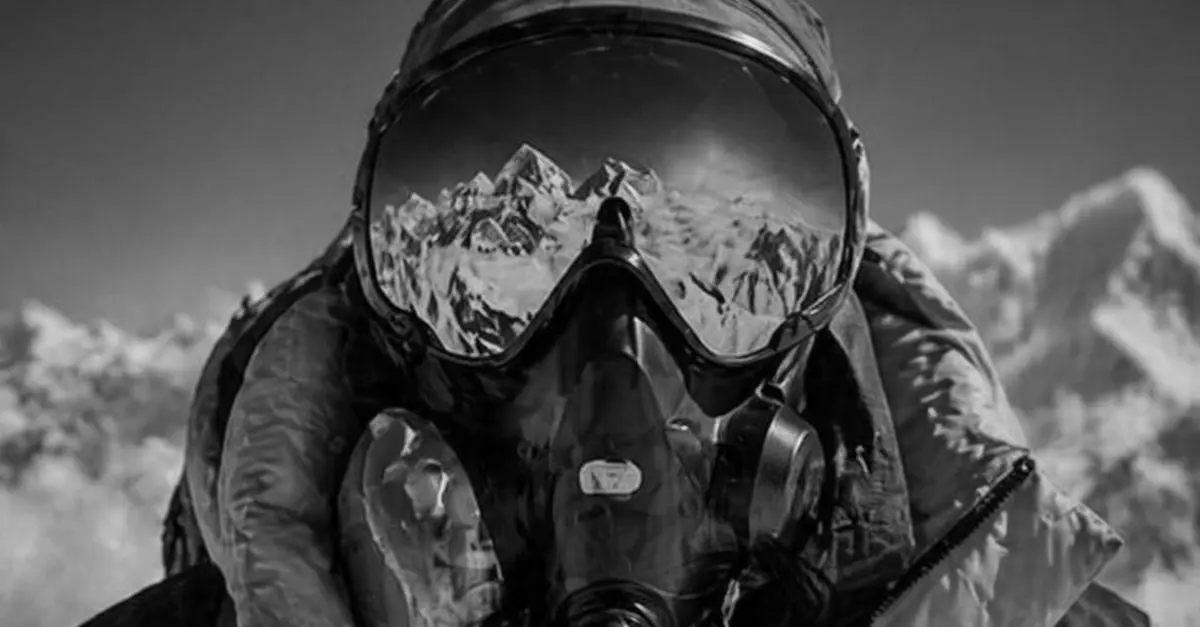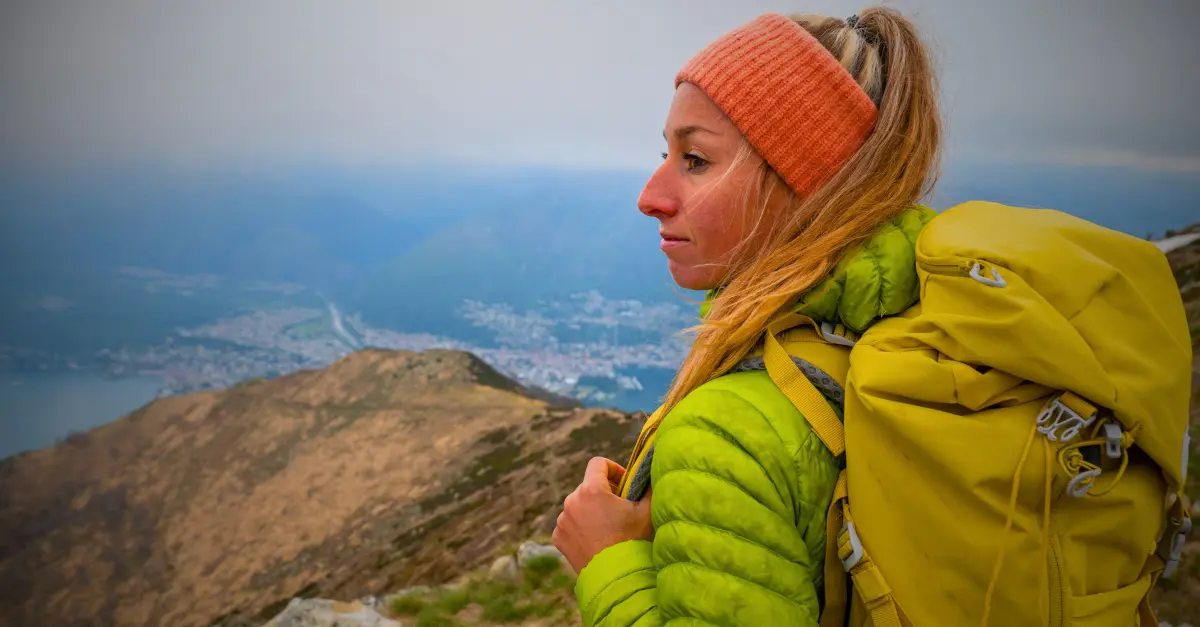

Nepal’s base camps are among the most rewarding terrains in the world for anyone traveling with a camera slung over their shoulder. Between Everest, Annapurna, Manaslu and Dhaulagiri, each trail offers a different light, scale and atmosphere, and I’ve had the chance to test most of these routes with my gear on my back. In this article, I’m sharing the seven base camps I genuinely recommend to photographers, along with the ideal seasons, the permits to plan for and the mistakes I made myself out on the trail.
If you’re looking for where to set up your tripod this year, you’re in the right place: I’ll get straight to the point, no unnecessary detours.
Why Nepal remains the ultimate playground for mountain photographers
There are few places on Earth where you can walk for days among peaks rising above 7,000, even 8,000 metres, while passing through Sherpa villages, Buddhist monasteries and rhododendron forests. Nepal is home to eight of the world’s fourteen highest peaks, which makes for a photographic playground of rare density.
What strikes me every time I come back is how the light shifts throughout the day. In the morning, mist rises from the valleys and wraps the peaks in an almost unreal veil. By late afternoon, raking light carves out the rocky ridges and brings out the hanging glaciers. In between, you cross passes where the weather can turn within minutes, forcing you to compose quickly and decisively.
Beyond the scenery, there’s the human dimension. The villages you pass through, the prayer flags snapping in the wind, the yaks loaded down on trails suspended above sheer drops: all of this provides material that goes far beyond the typical mountain shot. It’s this combination of altitude, light and Himalayan culture that makes Nepal so addictive for anyone who loves telling a story through images.
Everest Base Camp, the icon you never get tired of photographing
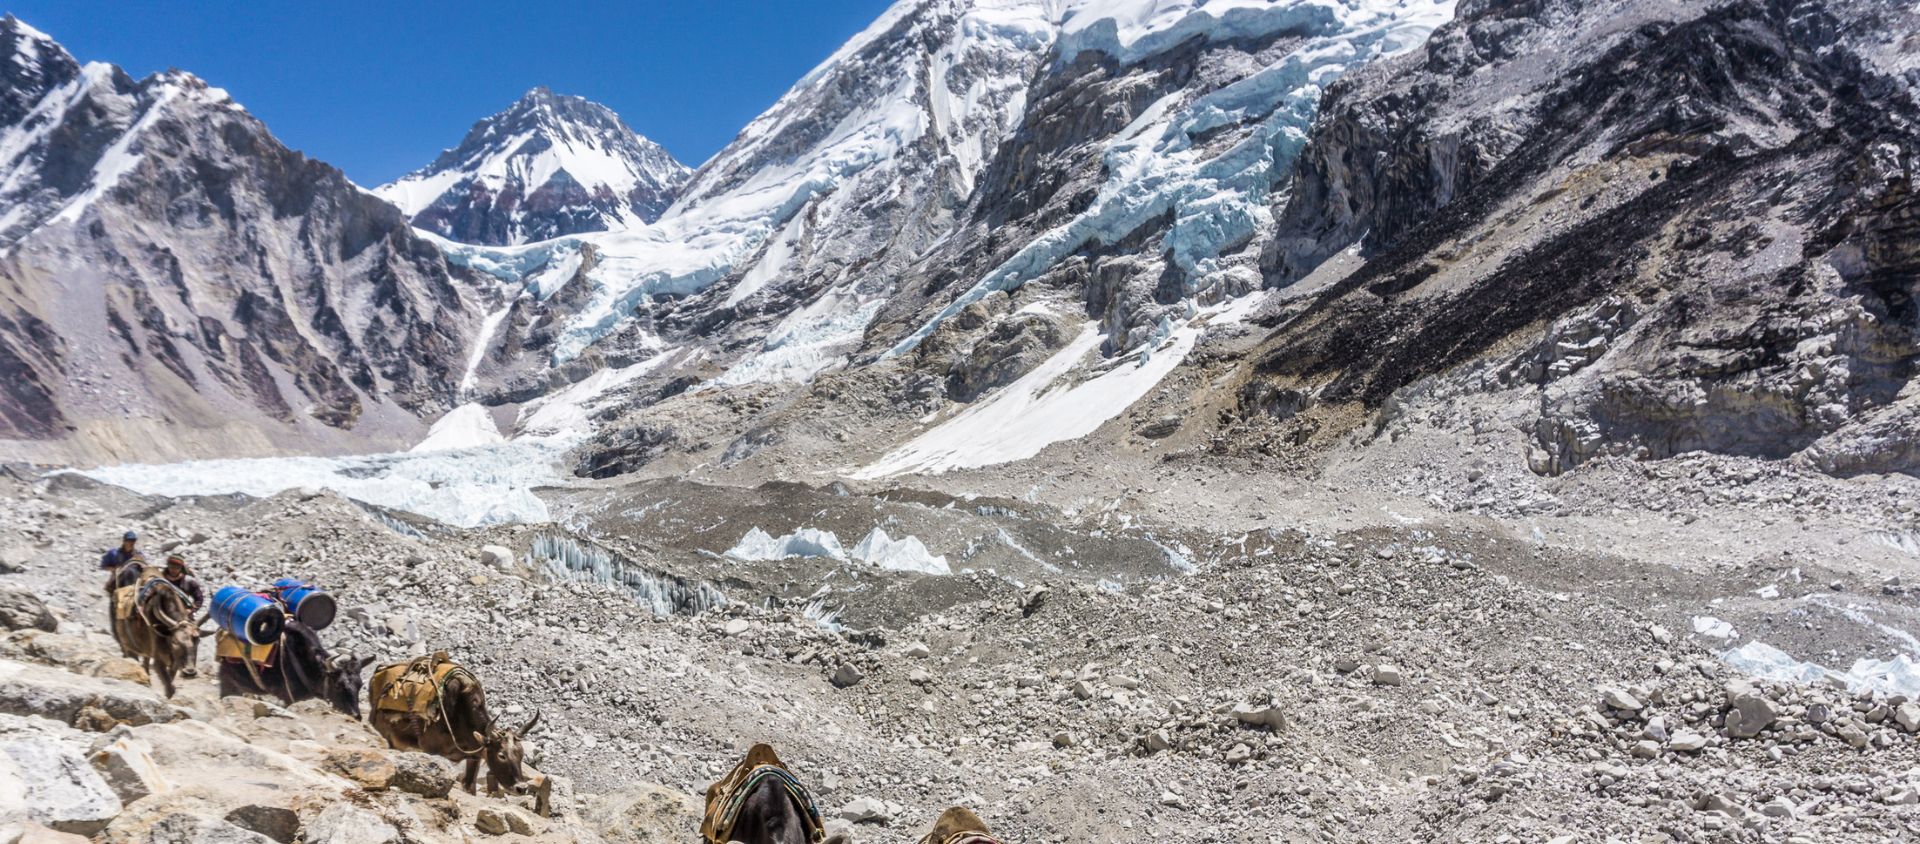
It’s impossible to talk about Nepal’s base camps without starting with the most famous of them all. The trek to Everest Base Camp, sitting at 5,364 metres inside Sagarmatha National Park, remains an absolute reference point. The trail usually begins in Lukla after a flight that, on its own, is already worth the trip for the shots you can get through the window.
Along the way, you pass through Namche Bazaar, the true capital of the Khumbu clinging to the mountainside, then Tengboche with its monastery facing Ama Dablam, in my opinion one of the most photogenic peaks on the planet. The range of shots available is immense: portraits of porters, vertigo-inducing suspension bridges, the glaciers of the Khumbu, and of course the dark mass of Everest gradually coming into view as you get closer.
To enter the area, you need two permits: the Sagarmatha National Park entry permit, around 3,000 Nepalese rupees, and the Khumbu Pasang Lhamu Rural Municipality permit, at a similar price. Good news for tight budgets: since 2025, the TIMS card is no longer mandatory on this section, which simplifies the paperwork a little before the trek, even if a trekking agency may still recommend it as a precaution.
Kala Patthar, the viewpoint that changes everything
If I had to pick just one viewpoint on this route, it would be Kala Patthar. Perched at 5,545 metres, this rocky summit offers a frontal view of Everest that the base camp itself, too hemmed in by the surrounding terrain, simply can’t provide. This is where I’d recommend climbing before dawn, headlamp on, to catch the first ray of sunlight setting the south-west face ablaze.
When to go for the best light
The two classic windows remain spring, from March to May, and autumn, from September to November. Autumn generally brings a more stable sky and sharper contrast, while spring brings blooming rhododendrons in the lower stages of the trek, a real bonus for varying your compositions. My personal take: if you have to choose between the two, go for autumn for the atmospheric clarity, especially if you’re aiming for wide shots of the distant ranges.
Annapurna Base Camp, more accessible and just as spectacular
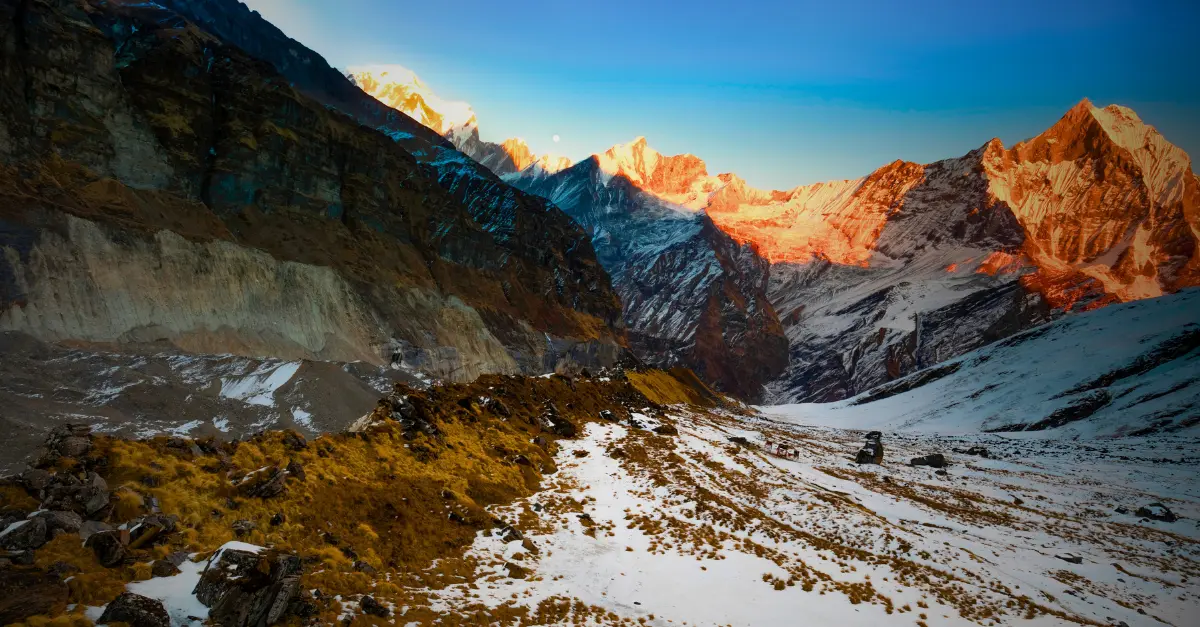
Lower than Everest, the Annapurna Base Camp still sits at over 4,100 metres, tucked inside a natural amphitheatre ringed by Annapurna I, Machapuchare and Hiunchuli. It’s probably one of the most complete settings I’ve photographed in Nepal, because you find yourself literally surrounded by peaks in every direction.
The advantage of this trek, accessible from Pokhara, lies in how manageable it is: the duration is shorter than Everest, around seven to ten days depending on pace, and the altitude stays moderate enough to limit the risk of acute mountain sickness. The Annapurna Conservation Area Permit (ACAP), around 3,000 rupees, is mandatory and goes directly toward preserving this region, ranked among the country’s richest in biodiversity.
Poon Hill, another date with sunrise
Along the way, many photographers stop at Poon Hill, a viewpoint at 3,210 metres especially popular at sunrise. The panoramic view takes in Dhaulagiri to the west and the entire Annapurna massif to the east. It’s also one of the busiest spots on the trek, so I’d recommend arriving early to grab a good spot before the crowds show up.

Manaslu Base Camp, for escaping the crowds and rediscovering authenticity
While Everest and Annapurna draw thousands of trekkers every season, Manaslu Base Camp remains far more under the radar. The world’s eighth-highest peak, rising to 8,163 metres, is circled by a trek that crosses villages with Tibetan influence, spectacular gorges carved out by the Budhi Gandaki river, and the formidable Larkya La pass, at 5,106 metres.
It’s precisely this scarcity of visitors that makes it a different photographic ground: fewer people on the trails, villages that remain unspoiled, and light that doesn’t have to compete with dozens of trekkers in the frame. Since the region is classified as a restricted area, three separate permits are required: the Restricted Area Permit (RAP), priced between 75 and 100 dollars for the first week depending on the season, the Manaslu Conservation Area permit, and the Annapurna one for the final stretch of the circuit.
There’s also news for solo travellers: since March 2026, it’s no longer necessary to form a group of at least two people to obtain this permit. A solo trekker can now get it through a registered agency, provided they’re accompanied by a licensed guide, which opens up this magnificent region to more photographers travelling alone.
Dhaulagiri Base Camp, the trek reserved for seasoned photographers
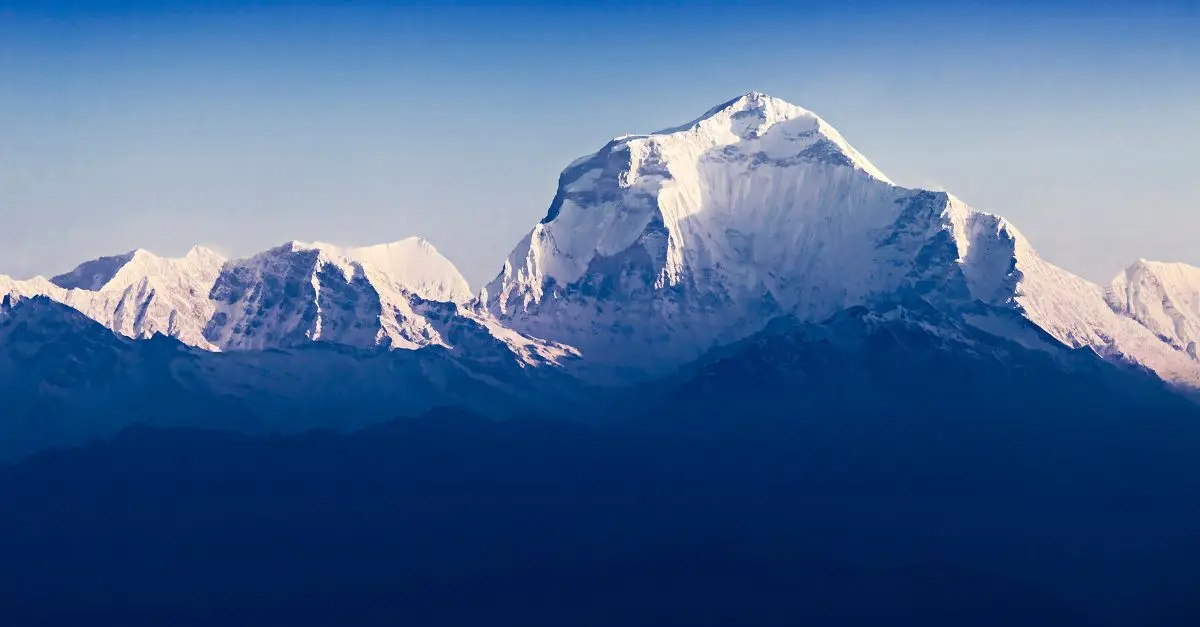
More technically demanding, the Dhaulagiri Base Camp is aimed at those who already have high-altitude experience. The trail crosses the Chonbarden glacier and climbs up to a camp sitting around 4,750 metres, ringed by steep walls that drop straight down from the summit of Dhaulagiri, the world’s seventh-highest mountain.
What I particularly love here is the stark contrast between the dense vegetation of the early stages and the mineral, almost lunar landscape that takes over as you gain altitude. Weather conditions are more unpredictable, and the terrain calls for good physical fitness as well as solid technical gear. This is typically the kind of trek I’d recommend after you’ve already tackled Annapurna or Manaslu, just to gauge your level of acclimatisation before committing.
The photo gear that really makes a difference at altitude
Before leaving, I went back and forth for a long time on what to actually pack, and looking back, certain choices completely changed my experience on the ground. Here’s what I consider essential for photographing Nepal’s base camps with peace of mind:
- A rugged camera body, ideally weather-sealed, since the temperature swing between morning and afternoon can exceed 20 degrees.
- Two to three spare batteries, kept warm against your body at night, since the cold drains them fast above 4,000 metres.
- A lightweight carbon tripod, for dawn shots without sacrificing too much weight in your pack.
- A wide-angle lens for sweeping mountain panoramas, paired with a lightweight telephoto for isolating details like prayer flags or distant summits.
- Some polarising filters, especially useful for cutting glare off the snow and deepening the blue of the sky at altitude.
- Several memory cards spread across different pockets, in case one gets lost or fails.
- A waterproof cover for your camera bag, essential during the late monsoon or spring showers.
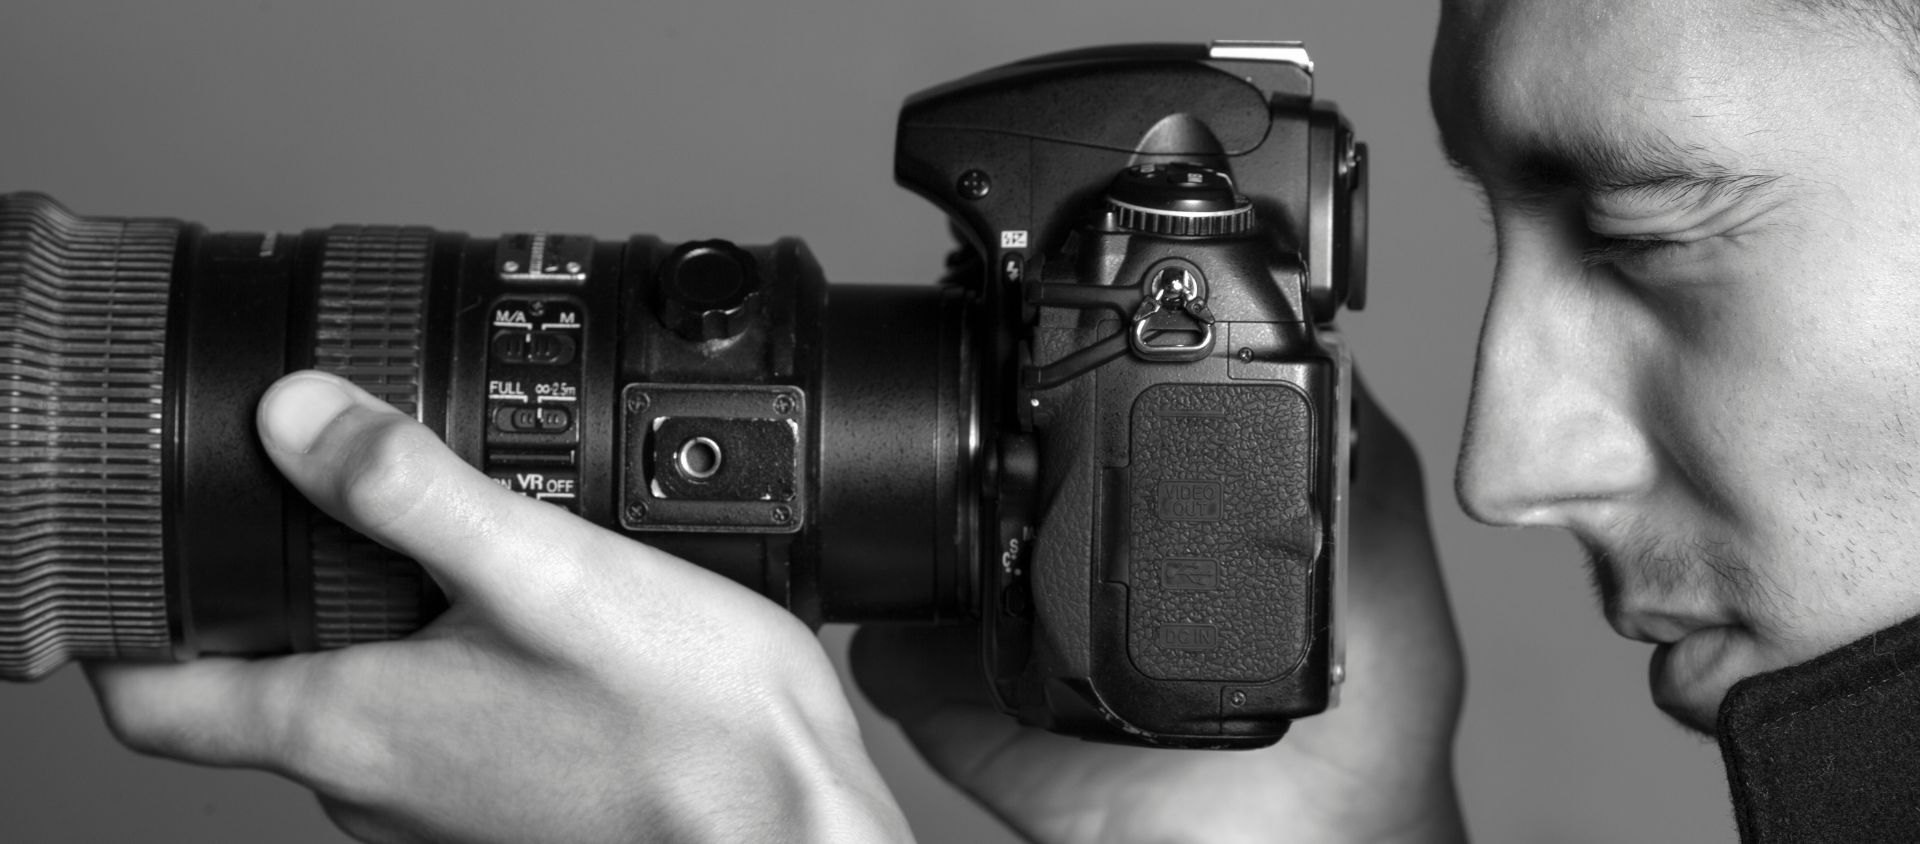
My personal advice: never underestimate the combined weight of your gear. I’ve seen several trekkers abandon a lens partway through the trip because they hadn’t anticipated the fatigue that comes with altitude. A smaller, well-thought-out kit beats a heavy bag that ends up slowing you down.
My experience on the ground, what I learned the hard way
I still remember my first attempt at Annapurna Base Camp, when I was convinced I could shoot everything on automatic mode to save time. The result: most of my shots came out overexposed because of the glare off the snow, and a huge amount of frustration reviewing the images that evening at the teahouse. Since then, I systematically dial in negative exposure compensation as soon as I’m walking on snow-covered ground.
Another lesson learned on the Manaslu trek: my main camera’s battery died right in the middle of the climb to the Larkya La, in temperatures hovering around minus fifteen degrees. Since then, I never leave without at least two spare batteries, kept against my body under my down jacket. This kind of detail seems trivial before you set off, but it can literally be the difference between coming home with the images of a lifetime or returning empty-handed from a summit you might never see again.
What I take away most, after several seasons spent on these trails, is that patience matters more than pure technique. The best light rarely shows up exactly when you expect it, and you often have to accept losing an entire day waiting for a break in the clouds to land the shot that justifies the whole trek.
Practical tips for nailing your trekking photos in Nepal
Beyond the gear, a few simple habits can really improve your chances of coming home with great images. I’d recommend planning your day around the light, meaning aiming for very early morning departures to make the most of golden hour, rather than walking during the hours when the sun is at its peak and flattens the terrain.
It’s also worth building buffer days into your itinerary so you can linger at a viewpoint if the weather doesn’t cooperate on the first day. It’s a strategy I’ve applied consistently ever since my failed attempt at Dhaulagiri, where a single sunrise attempt, ruined by clouds, sent me home without the photo I’d come for.
Finally, never forget the human side of the trip. Asking permission before photographing locals, taking the time to exchange a few words, even basic ones, radically changes the quality of the portraits you bring home. To dig deeper into the logistics, you can check out our guide to complete trekking gear for the Himalayas as well as our article dedicated to the best seasons for trekking in Nepal.
For official information on permits and protected areas, I’ll point you to the Nepal Tourism Board website, which regularly publishes up-to-date fees, as well as the Nepalese Department of Immigration for permits covering restricted areas like Manaslu.
Frequently asked questions
Which base camp is the easiest to reach for a beginner photographer?
Annapurna Base Camp (ABC) remains the most accessible and best suited for a first photographic immersion at high altitude.
- Simplified logistics: The Annapurna trek has a shorter overall duration (around 7 to 10 days of walking) and a much gentler altitude progression than Everest. The base camp sits at 4,130 metres, a reasonable altitude that greatly limits the risk of acute mountain sickness (AMS) while still offering a breathtaking 360° panorama.
- The ideal testing ground: It’s the perfect route for testing how your batteries hold up in the cold, getting used to the weight of your camera bag while walking, and learning to handle your filters or tripod in real conditions, before later tackling much more demanding expeditions.
Is a guide mandatory for photographing Nepal’s base camps?
Yes, having a professional guide has now become a legal requirement on almost all of the major routes.
- The rule became universal in 2026: While having a guide used to be only a recommendation for Everest and Annapurna, the regulations have tightened considerably. For reasons of safety, environmental management and digital tracking at checkpoints, the Nepalese government now requires the presence of a licensed guide through an approved agency to enter national parks and conservation areas (Sagarmatha, Annapurna, Langtang).
- The change for Manaslu: For the Manaslu region, classified as a restricted area, a certified guide remains strictly mandatory. However, a major reform that came into effect in March 2026 removed the old requirement to travel in a group of at least two: solo photographers can now obtain their Manaslu permit individually, on the sole condition that they’re accompanied by their local guide.
What’s the best season for photographing high-altitude light in Nepal?
Autumn and spring offer two radically different atmospheres, with a clear edge going to autumn for air clarity.
- Autumn (September to November) — The season of clarity: This is the prime period for pure landscape shots. The recent passage of the monsoon has washed all the dust out of the atmosphere, giving the clearest possible sky, striking contrast on the snow and razor-sharp detail on distant summits at sunrise.
- Spring (March to May) — The season of colour: Weather conditions remain very favourable, although the air can get hazier at lower altitudes as the day goes on. On the other hand, this season offers a unique opportunity for foreground compositions thanks to the spectacular blooming of giant rhododendron forests, which add bursts of vivid red and pink at the foot of the ice giants.
How much do the permits cost to access these different base camps?
Entry fees depend strictly on the protected status of the region you’re crossing.
- Standard national parks and conservation areas: For heavily visited areas like Annapurna (ACAP) or Everest (Sagarmatha), specific entry permits generally range around **25 to 30 dollars** per person.
- Restricted areas: Access to wilder massifs like Manaslu or Upper Mustang requires a special Restricted Area Permit (RAP), which must be issued through an agency. For Manaslu, budget around **75 to 100 dollars** for the first week (the rate varying depending on high or low season), plus the cost of the e-TIMS tracking card now managed directly by trekking operators.