



Related posts

How technology is transforming outdoor activities in Morocco

Just a few years ago, setting out for a hike in the High Atlas meant relying on a paper map, advice from a hos...
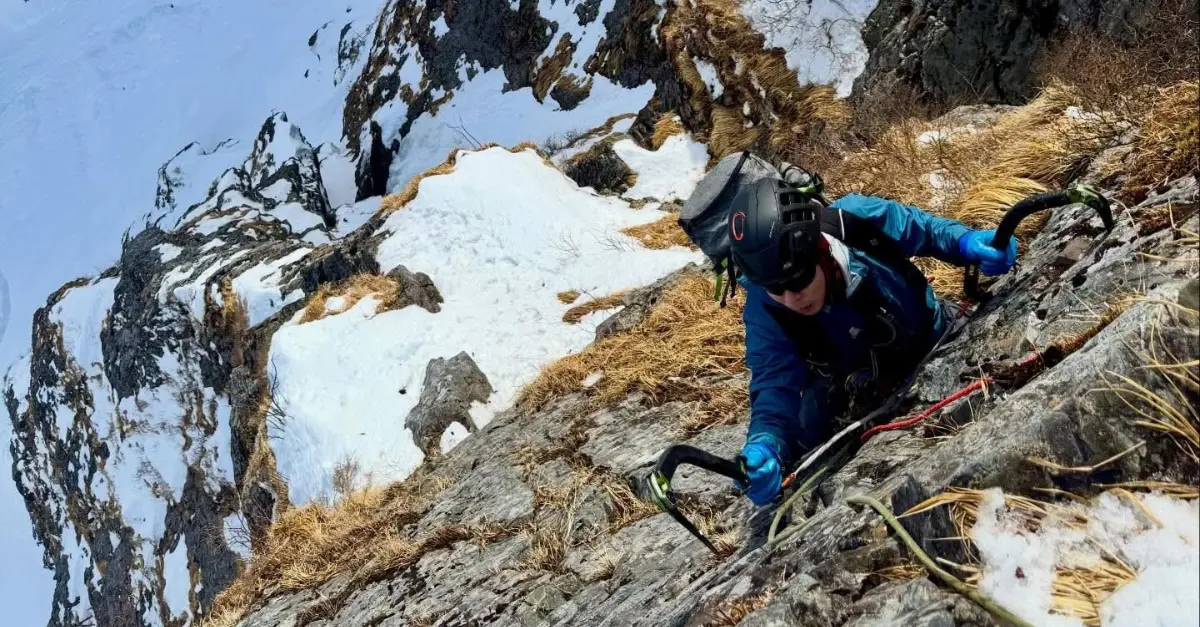
Gangapurna west 7,140 m, the ultimate push for Nepal’s last unclimbed giant
The attempt on Gangapurna west is the story everyone in the Himalayan climbing world is talking about this fal...
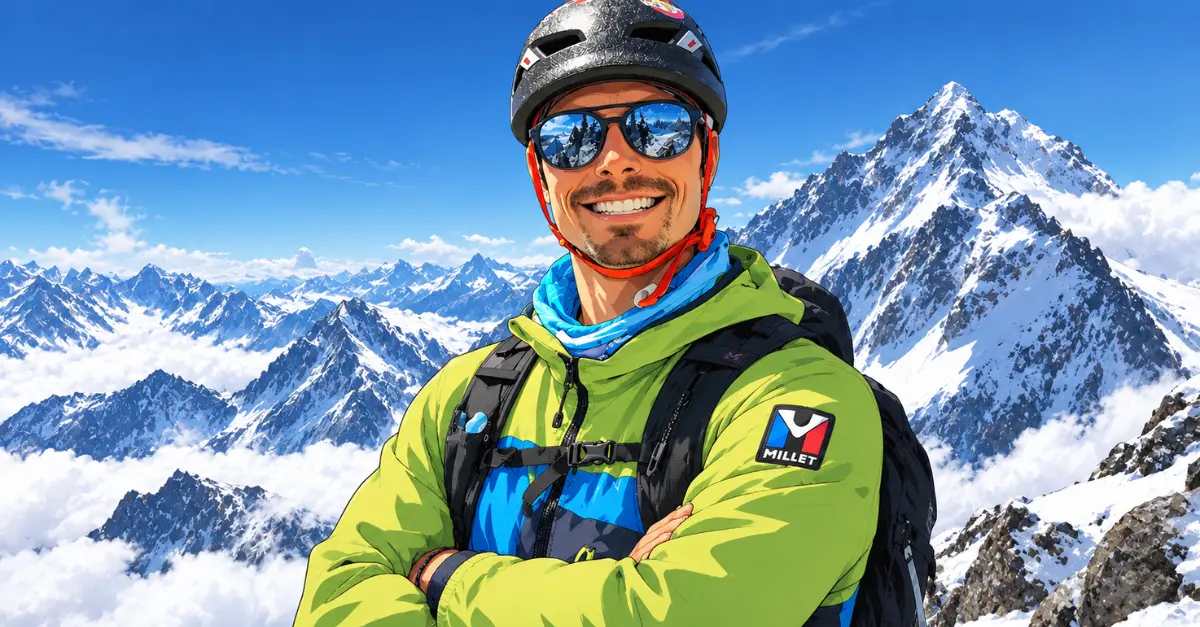
Charles Dubouloz and the winter solo trilogy: inside French alpinism’s most intense project
Some projects can be summed up in a sentence. Others take years to take shape. Charles Dubouloz's winter solo ...
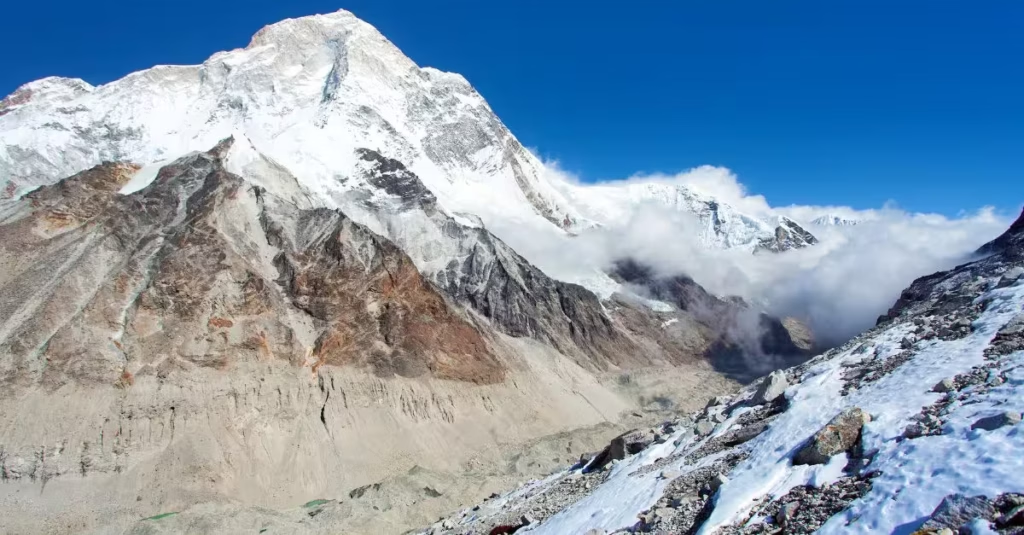
A Russian team attempts an alpine-style ascent of Makalu in Nepal

Makalu alpine style is back in the Himalayan spotlight this autumn 2026. Two Russian climbers, Denis Aleksenko...
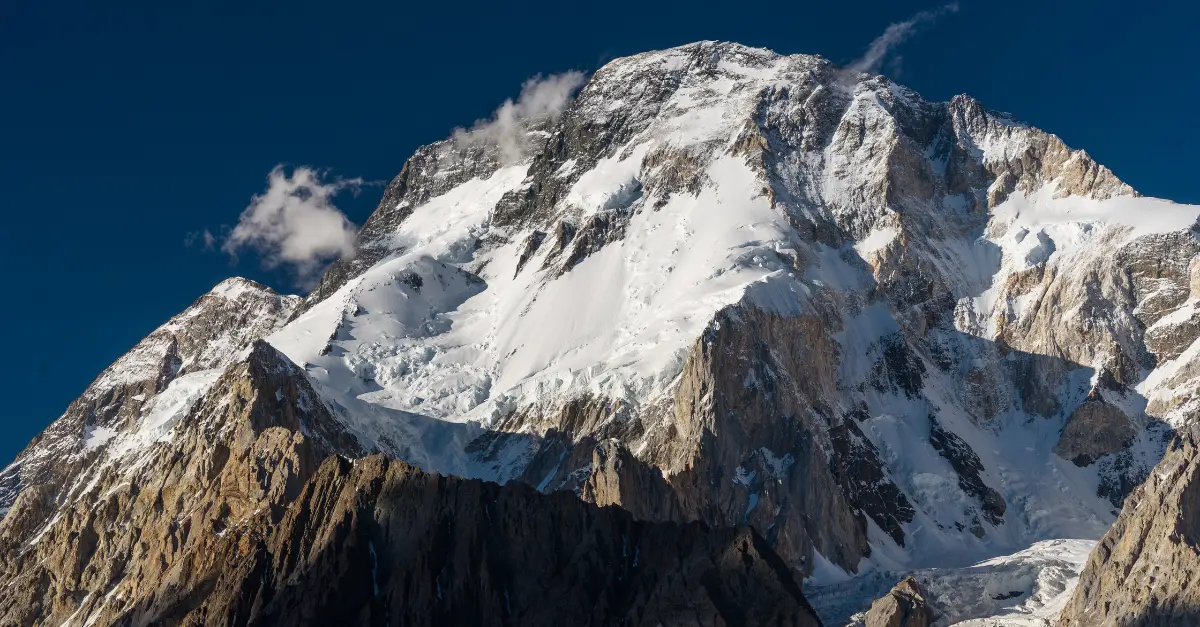
Broad Peak: seven decades of death on the world’s 12th highest mountain
Broad Peak: seven decades of death on the world's 12th highest mountain
**Broad Peak** has once again plunged...
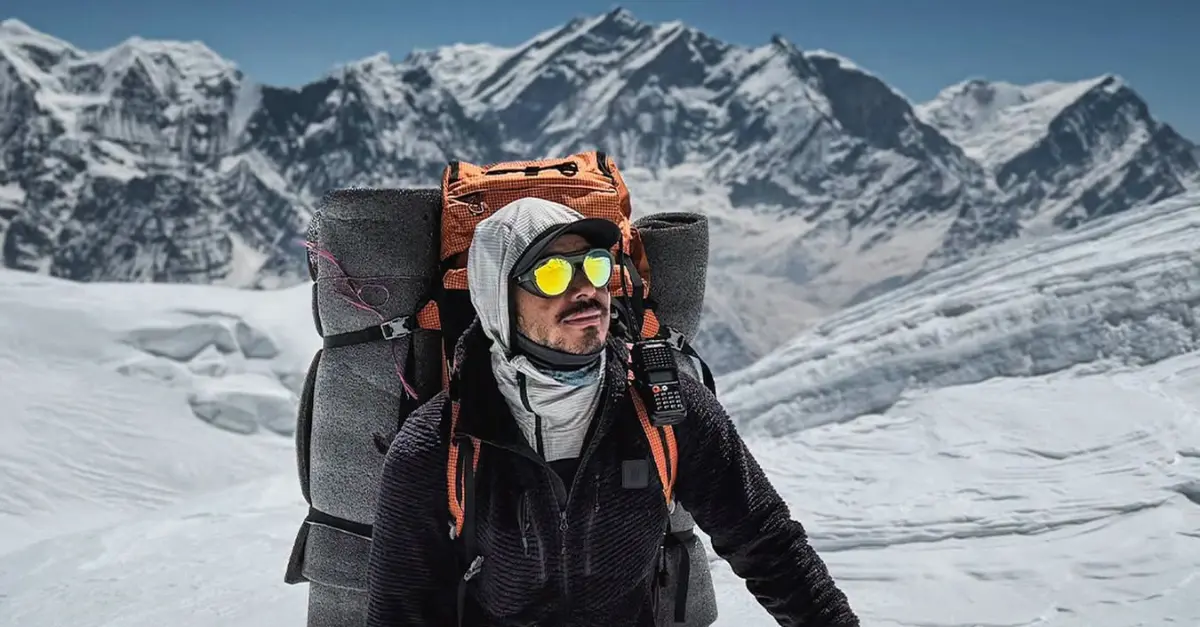
Nirmal “Nimsdai” Purja – A Legend That Will Never Be Forgotten
Today, the mountaineering world is in mourning. We have lost one of its greatest climbers, Nirmal "Nimsdai" Pu...
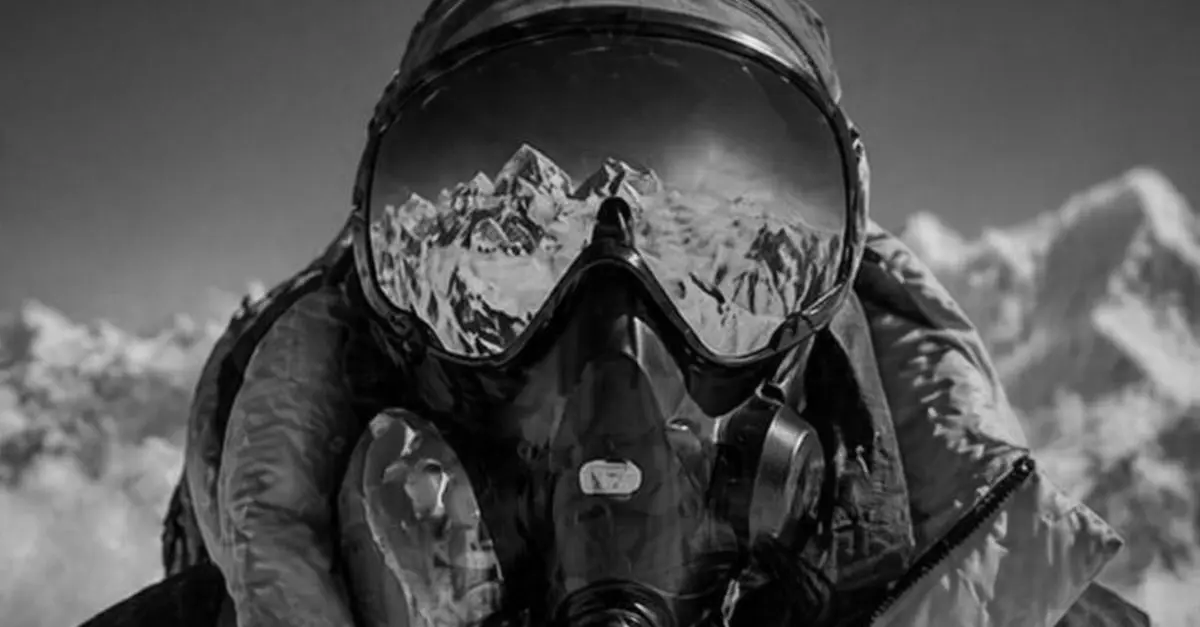
Rope fixers, the 5 unsung sherpas behind every himalayan summit
Rope fixers are the first to step onto the mountain, long before any client ever laces up a pair of crampons. ...
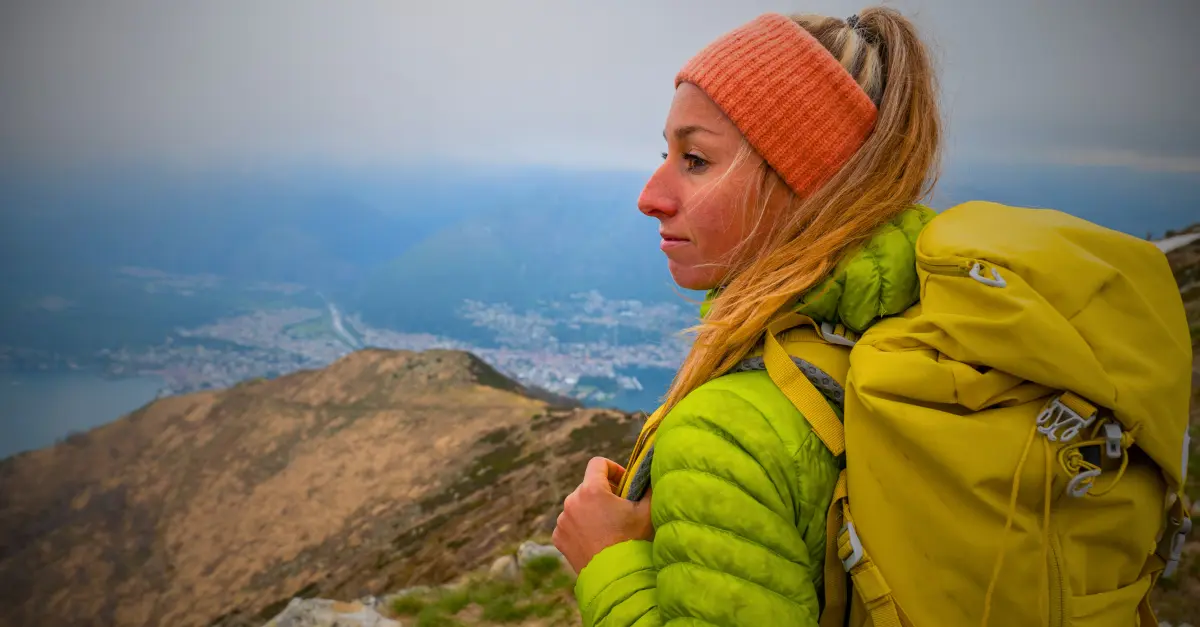
Feminine hygiene on a trek in Nepal, the essential guide for every woman

Feminine hygiene on a trek in Nepal is easily the question I get asked most often in private messages, way mor...
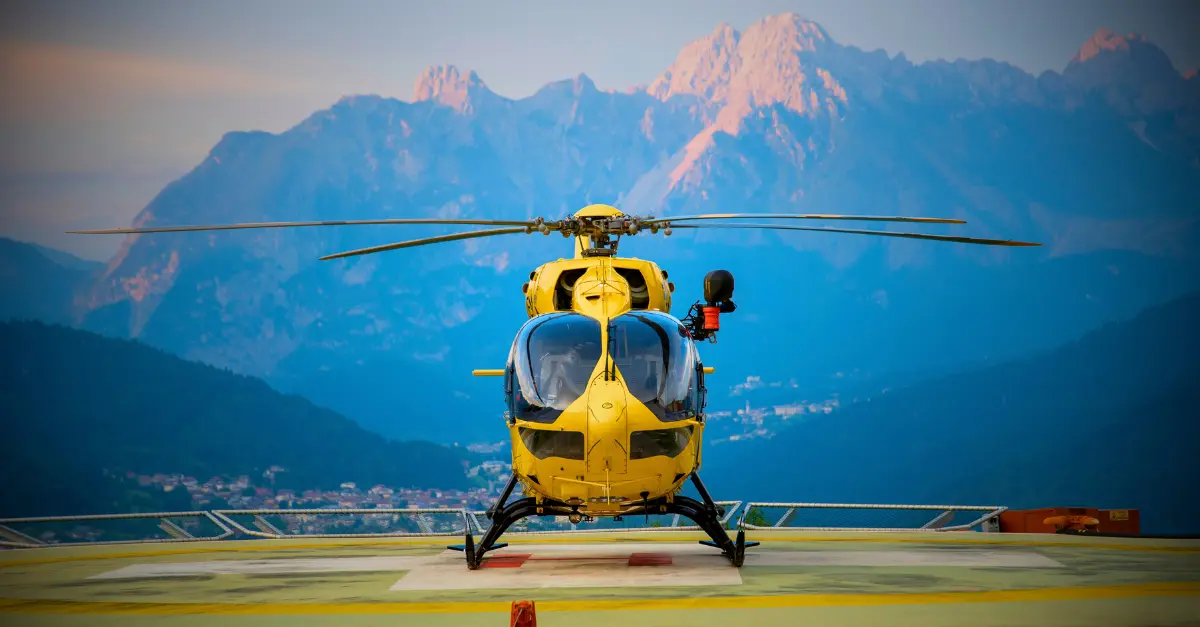
Nepal helicopter insurance: the 7 mandatory clauses to check before you sign

Nepal helicopter insurance is the one detail most trekkers skip over when booking their trip, and that's exact...

The North Face Verto GORE-TEX® Alpine Boots Review
The Outwild team had the opportunity to test The North Face Verto GORE-TEX® alpine boots for several months un...

Insta360 X5 Promo Code – Action Camera
Thinking about buying the brand-new Insta360 X5? Great news: by using the promo code INRZDAN, you get an insta...
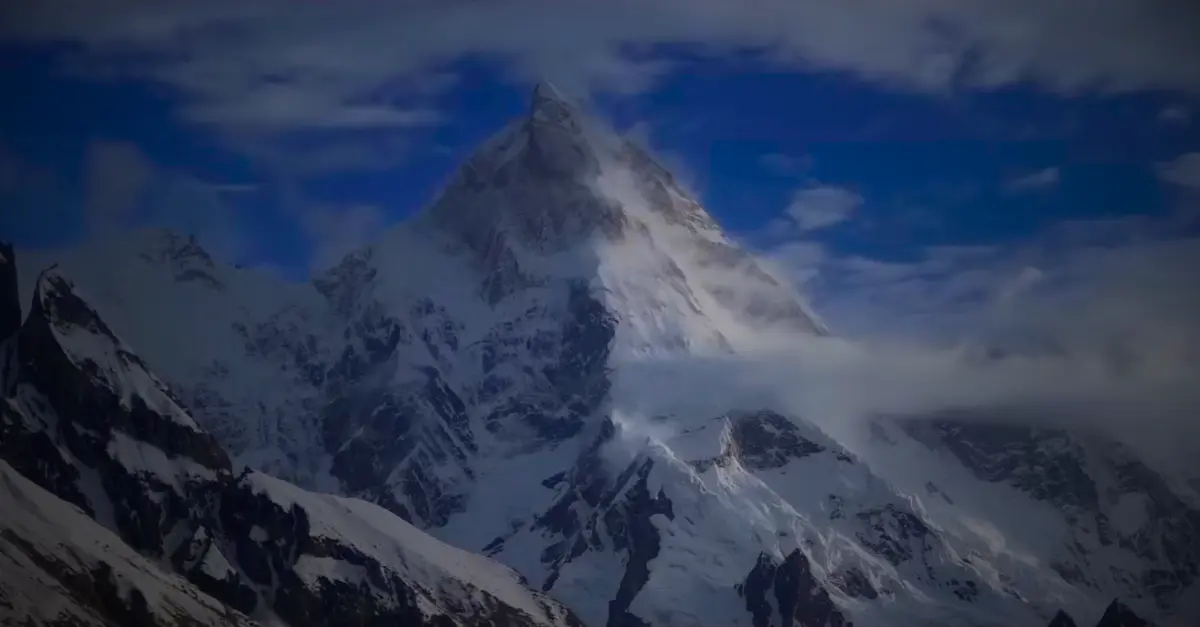
Masherbrum Ascent: Why This Karakoram Peak Has Seen Only 4 Climbs in 65 Years
The Masherbrum ascent remains one of the rarest in the entire Himalaya-Karakoram range. This 7,821-meter Pakis...